Mini-Split Installation in Denver, CO

Mini-Split Installation in Denver, CO
Mini-split installation in Denver, CO delivers targeted heating and cooling that fits Denver homes, condos, and older houses where ductwork is impractical or expensive to add. Mini-splits offer efficient multi-zone comfort, quieter operation, and flexible placement while preserving interior aesthetics. Because Denver’s high altitude, dry climate, and wide seasonal temperature swings influence system performance and load calculations, a professional, locally experienced installation is essential to ensure reliable year-round comfort.
Why choose a professionally installed mini-split in Denver
- Energy-efficient operation for variable Colorado temperatures, reducing utility costs compared with window units or space heaters.
- Zoned control for rooms with different use patterns or solar gain, common in Denver’s sun-exposed homes.
- Minimal disruption to historic or retrofit projects where ductwork would damage character.
- Modern cold-climate mini-splits maintain heating capacity at lower outside temperatures typical of Denver winters.
Common mini-split types and Denver use cases
- Single-zone wall-mounted systems for apartments, bedrooms, or home offices.
- Multi-zone systems with 2 to 8+ indoor units for whole-home solutions without ducts.
- Floor or ceiling cassettes for open-plan living spaces or where wall space is limited.
- Compact outdoor compressors for tight urban lots and townhomes.
Initial consultation and home assessment
A thorough consultation begins with a walk-through to understand your comfort goals, building layout, insulation levels, window orientation, and existing heating systems. In Denver, installers will also consider:
- Altitude and air density effects on system performance.
- Solar exposure on south- and west-facing rooms.
- Insulation quality in older homes and the impact on heating loads during cold snaps.
The assessment identifies the best mini-split type, recommended capacity per zone, and practical installation locations for indoor and outdoor units.
Heat-load calculations and system design
Accurate load calculations are the backbone of a reliable mini-split installation. Professionals use Manual J style calculations adapted for high-altitude conditions to estimate heating and cooling loads. This process:
- Determines correct system capacity so the unit does not short-cycle or run inefficiently.
- Accounts for Denver-specific factors like lower air density, large diurnal temperature swings, and typical insulation levels.
- Guides whether a single outdoor compressor can serve multiple zones or if additional outdoor units are required.
A properly designed system balances efficiency with durability and avoids common problems such as undersizing for winter heating or oversizing that reduces dehumidification in summer.
Indoor and outdoor unit placement considerations
Placement affects comfort, efficiency, and aesthetics:
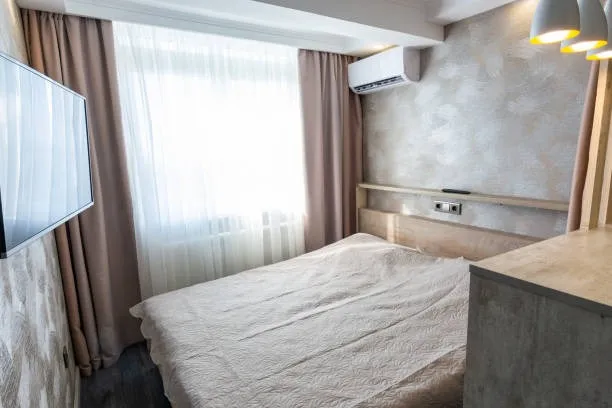
- Indoor units are positioned to promote even air distribution and avoid direct blasts on occupants. In bedrooms, units are often placed above doorways or on short walls; in living rooms, cassettes or floor consoles can be ideal.
- Outdoor compressors need clear airflow, solid mounting, and vibration isolation. Denver installations also consider snow load, proper elevation to prevent snow and ice buildup, and sun exposure to avoid excessive heat load.
- Noise-sensitive placement avoids mounting outdoor units near bedroom windows or shared property lines.
Refrigerant line and electrical work
Licensed technicians perform all refrigerant and electrical work to code:
- Correct refrigerant charge and leak-free brazing are critical. Technicians pressure test, evacuate, and charge systems per manufacturer requirements.
- Electrical work includes dedicated breakers, proper wire sizing, and controls integration. In Denver, installations must comply with local electrical and building codes, including any permitting requirements.
- Concealed line sets are routed through small penetrations with proper insulation and weatherproofing to maintain the home envelope.
Aesthetic and clearance planning
Mini-splits are often chosen for discreet installation. Installers consider:
- Concealing wall lines with paintable raceways or routing behind baseboards where possible.
- Minimum clearances around indoor and outdoor units for service access and airflow.
- Matching placement to interior design so head units complement room aesthetics without blocking furniture or windows.
Installation timeline and what to expect
Typical residential installation steps and timing:
- Final site verification and permit check - 30 to 60 minutes.
- Indoor/outdoor mounting, line set routing, and electrical work - most single-zone installs are completed in a day; multi-zone systems may take 1 to 3 days.
- Refrigerant charging, system evacuation, and commissioning - included on the final day.
- Walk-through demonstration on controls and maintenance.
Weather, permits, and home access can affect scheduling. Installers plan for Denver seasonal considerations such as snow on the ground or extreme cold.
Commissioning and performance testing
Commissioning confirms the system operates to specifications:
- Refrigerant charge and superheat/subcooling checks.
- Electrical load and breaker testing.
- Airflow and temperature split verification at each indoor head.
- Leak tests and condensation drain checks.
- Demonstration of controls, timers, and Wi-Fi integration if provided.
Documented performance testing ensures efficient operation and supports warranty coverage.
Technician certifications and safety practices
Qualified installations should be handled by technicians with:
- EPA refrigerant handling certification.
- Manufacturer training for the mini-split brand being installed.
- NATE or equivalent HVAC system training for accurate system design and diagnostics.
Safety practices include proper brazing techniques, pressure-tested lines, electrical lockout/tagout, and secure outdoor unit anchoring to prevent tip or vibration issues during Denver winds or snow loads.
Care and troubleshooting tips after installation
Routine care keeps a mini-split running efficiently:
- Clean or replace filters every 1 to 3 months depending on use and indoor air quality.
- Keep indoor unit inlet and outlet free of obstructions.
- Inspect outdoor unit for debris, snow, or ice; clear 12 to 24 inches of space for airflow.
- Flush condensate lines if slow drainage or mildew odors develop.
Common troubleshooting signs and likely causes:
- Reduced airflow: clogged filter, obstructed fan, or frozen coil.
- Poor heating performance in extreme cold: low refrigerant charge, incorrect settings, or oversized/undersized system.
- Unusual noises: loose mounting, debris, or compressor issues.
- Error codes on indoor heads: consult manual or certified technician for diagnostics.
Timely professional service preserves warranty and efficiency, and Denver homeowners should schedule annual preventive checks before summer cooling and before winter heating seasons.
Mini-split installation in Denver, CO requires attention to altitude, insulation, solar gain, and winter performance. When designed and installed by certified technicians, mini-splits deliver precise zone control, lower energy use, and flexible placement that preserves your home layout. Proper sizing, careful placement, and professional commissioning are the difference between an average system and one that reliably keeps your Denver home comfortable year round.
Promotions
Save on seasonal system checks from a local team that treats your home like our own.

Testimonials
Neighbors trust Quality Heating & Air for honest work and fair pricing.