Air Conditioning Installation in Henderson, CO

Air Conditioning Installation in Henderson, CO
A properly sized and professionally installed air conditioning system is one of the most important investments you can make in your Henderson, CO home. Summers here bring strong daytime heat, high solar loads, and large diurnal temperature swings at higher elevation — all of which affect how an AC system performs.
Why a tailored installation matters in Henderson, CO
Henderson homes face unique local factors:
- Higher elevation and lower air density influence heat transfer and equipment output.
- Dry climate with intense sun increases cooling loads and drives up indoor humidity control needs in sealed, well-insulated houses.
- Older neighborhood construction may have undersized or deteriorated ductwork that reduces system efficiency.
A correctly specified system takes these variables into account so it delivers comfort, reliability, and energy efficiency year after year.
Common air conditioning installation types and options
When planning an installation in Henderson, CO, homeowners typically choose from:
- Central air conditioners (split systems) for whole-home cooling.
- Heat pump systems that provide efficient cooling and heating in one unit—effective for moderate Colorado winters.
- Ductless mini-split systems for additions, garages, or homes without ductwork.
- High-efficiency, variable-speed systems for greater comfort and lower energy bills.
Popular brands commonly recommended for their performance and local support include Carrier, Trane, Lennox, Daikin, Amana, and others. Evaluate models by SEER rating, compressor type (single-stage, two-stage, variable-speed), and matched indoor coils for optimum performance in local conditions.
Step 1 — Initial home assessment and load calculations
A professional installation begins with a thorough on-site assessment:
- Manual J load calculation: determines the correct cooling capacity based on square footage, orientation, insulation, window types, occupancy, and local climate data.
- Manual D duct design review: checks whether existing ductwork is sized and configured properly for even airflow.
- Envelope inspection: evaluates insulation, attic ventilation, air sealing, and shading that impact cooling needs.
Correct sizing prevents short cycling, uneven cooling, and premature equipment wear — common problems when systems are oversized or undersized for Henderson homes.
Step 2 — Equipment selection and energy-efficient options
Choose equipment that balances comfort and operating cost:
- Target higher SEER ratings for better efficiency; in Colorado’s summer climate a SEER 16+ system often yields meaningful savings.
- Consider variable-speed compressors and ECM blower motors for quieter operation and tighter temperature control.
- Heat pumps are a strong option if you want combined heating and cooling with high efficiency.
- Matched components (outdoor unit, indoor coil, and thermostat) ensure manufacturer-backed performance.
Also factor in refrigerant type, noise levels, and warranty terms when comparing brands and models.
Step 3 — Ductwork evaluation and necessary repairs
Duct issues are a frequent cause of poor cooling performance:
- Inspect for leaks, poor insulation, disconnected joints, and improper sizing.
- Upgrade poorly sealed ducts with mastic or mechanical fasteners and add insulation where ducts run through unconditioned spaces.
- In some homes, redesigning or adding return paths significantly improves system balance and comfort.
Addressing ductwork during installation prevents efficiency losses and improves indoor air quality.
Step 4 — Permits, code compliance, and safety
Local permitting and code compliance are essential:
- Installations typically require a building permit and must meet Colorado building codes and local municipal regulations.
- Electrical connections must comply with the National Electrical Code and local inspector requirements.
- Refrigerant handling requires EPA 608-certified technicians and proper disposal of old refrigerants.
Proper permitting and inspections protect your home, ensure code compliance, and are often required to validate manufacturer warranties.
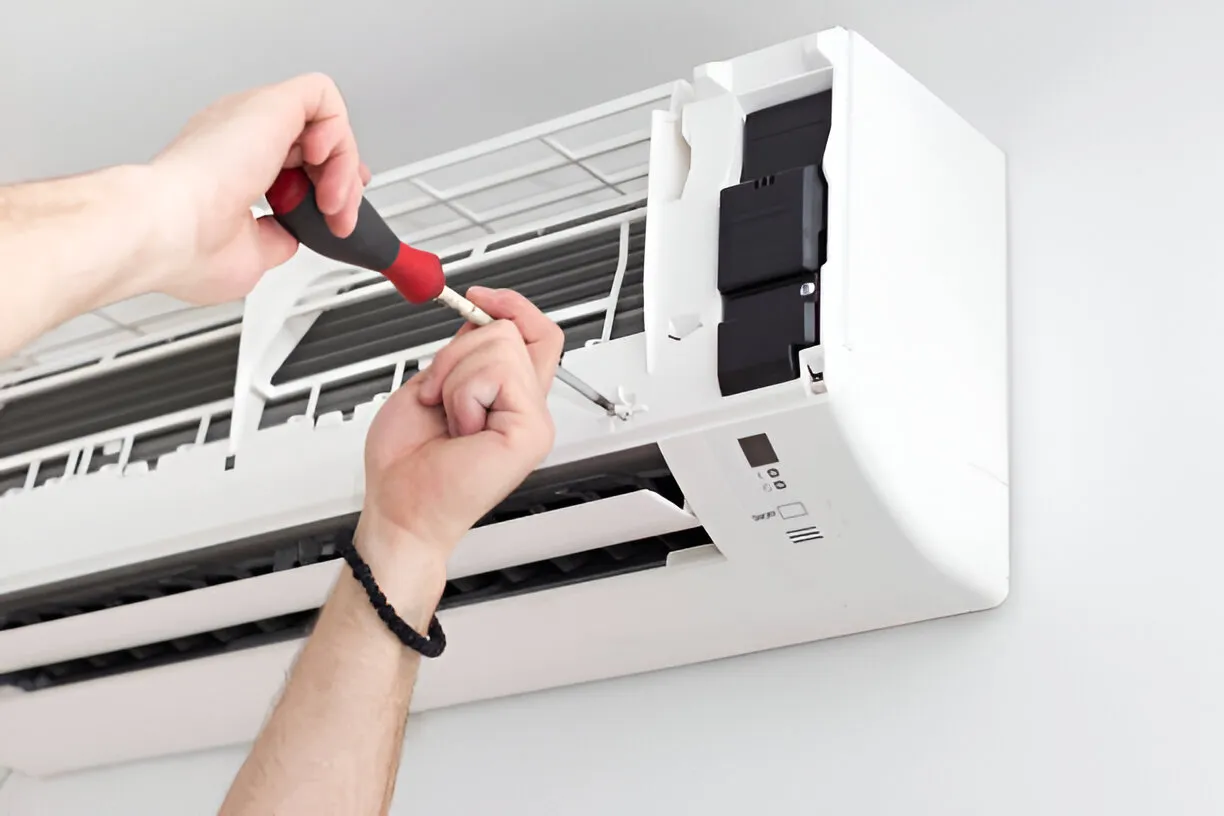
Step 5 — Professional installation steps
A standard professional installation includes:
- Pre-install site preparation and protection of floors and landscaping.
- Removal and environmentally responsible disposal of existing equipment.
- Precise placement of the outdoor unit on a level pad with adequate clearance and airflow.
- Installation of matched indoor coil, refrigerant lines, condensate drains, and thermostat wiring.
- Electrical connection, startup charging to factory or load-specified refrigerant levels, and safety control setup.
- Duct transitions, sealing, and insulation as needed.
Installations typically take a full day for a single-family home, sometimes longer if ductwork or structural modifications are required.
Step 6 — Post-installation testing and documentation
After installation, thorough testing ensures peak performance:
- Verify refrigerant charge, measured superheat/subcooling, and compressor performance.
- Test static pressure and airflow at registers to confirm balanced distribution.
- Calibrate thermostat and demonstrate operating modes and maintenance basics.
- Perform safety checks on electrical connections and control circuits.
- Provide documentation including equipment model numbers, serial numbers, manufacturer warranty information, and a summary of work performed.
These tests protect your investment and establish a baseline for future maintenance.
Warranty and financing considerations
Understand the protection that comes with your purchase:
- Manufacturer warranties cover parts (and sometimes compressors) for a set number of years; proper registration may be required.
- Contractor labor warranties vary—request written terms on workmanship and duration.
- Extended warranty options are sometimes available to add parts and labor coverage beyond standard terms.
- Many homeowners use third-party financing programs to spread installation costs. Typical options include low-interest loans, payment plans, or energy-efficiency financing; reviews of terms and disclosures are important before committing.
Ask for clear written warranty and financing details so you know what’s covered and how to file claims.
Tips for optimizing system performance after installation
Maximize comfort and efficiency with these practical measures:
- Change or clean filters monthly during heavy use and follow the manufacturer’s filter recommendations.
- Use a programmable or smart thermostat to reduce run time during unoccupied periods.
- Shade outdoor condensers from direct sun (without restricting airflow) to improve efficiency.
- Schedule annual tune-ups before peak cooling season to check refrigerant levels, electrical connections, and airflow.
- Improve attic insulation and air sealing to reduce cooling load and extend system life.
Regular preventive maintenance preserves warranty eligibility and keeps operating costs down.
Final note — what to expect from a quality installation
A professional air conditioning installation in Henderson, CO delivers consistent, efficient cooling tailored to local conditions. Expect a clear, documented process: precise load calculations, matched equipment choices (Carrier, Trane, Lennox, etc.), thorough ductwork evaluation, correct permitting, meticulous installation, and complete post-install testing. When each step is done right, your new system provides reliable comfort, lower energy bills, and longer service life in Henderson’s distinct climate.
Promotions
Save on seasonal system checks from a local team that treats your home like our own.

Testimonials
Neighbors trust Quality Heating & Air for honest work and fair pricing.